TL;DR
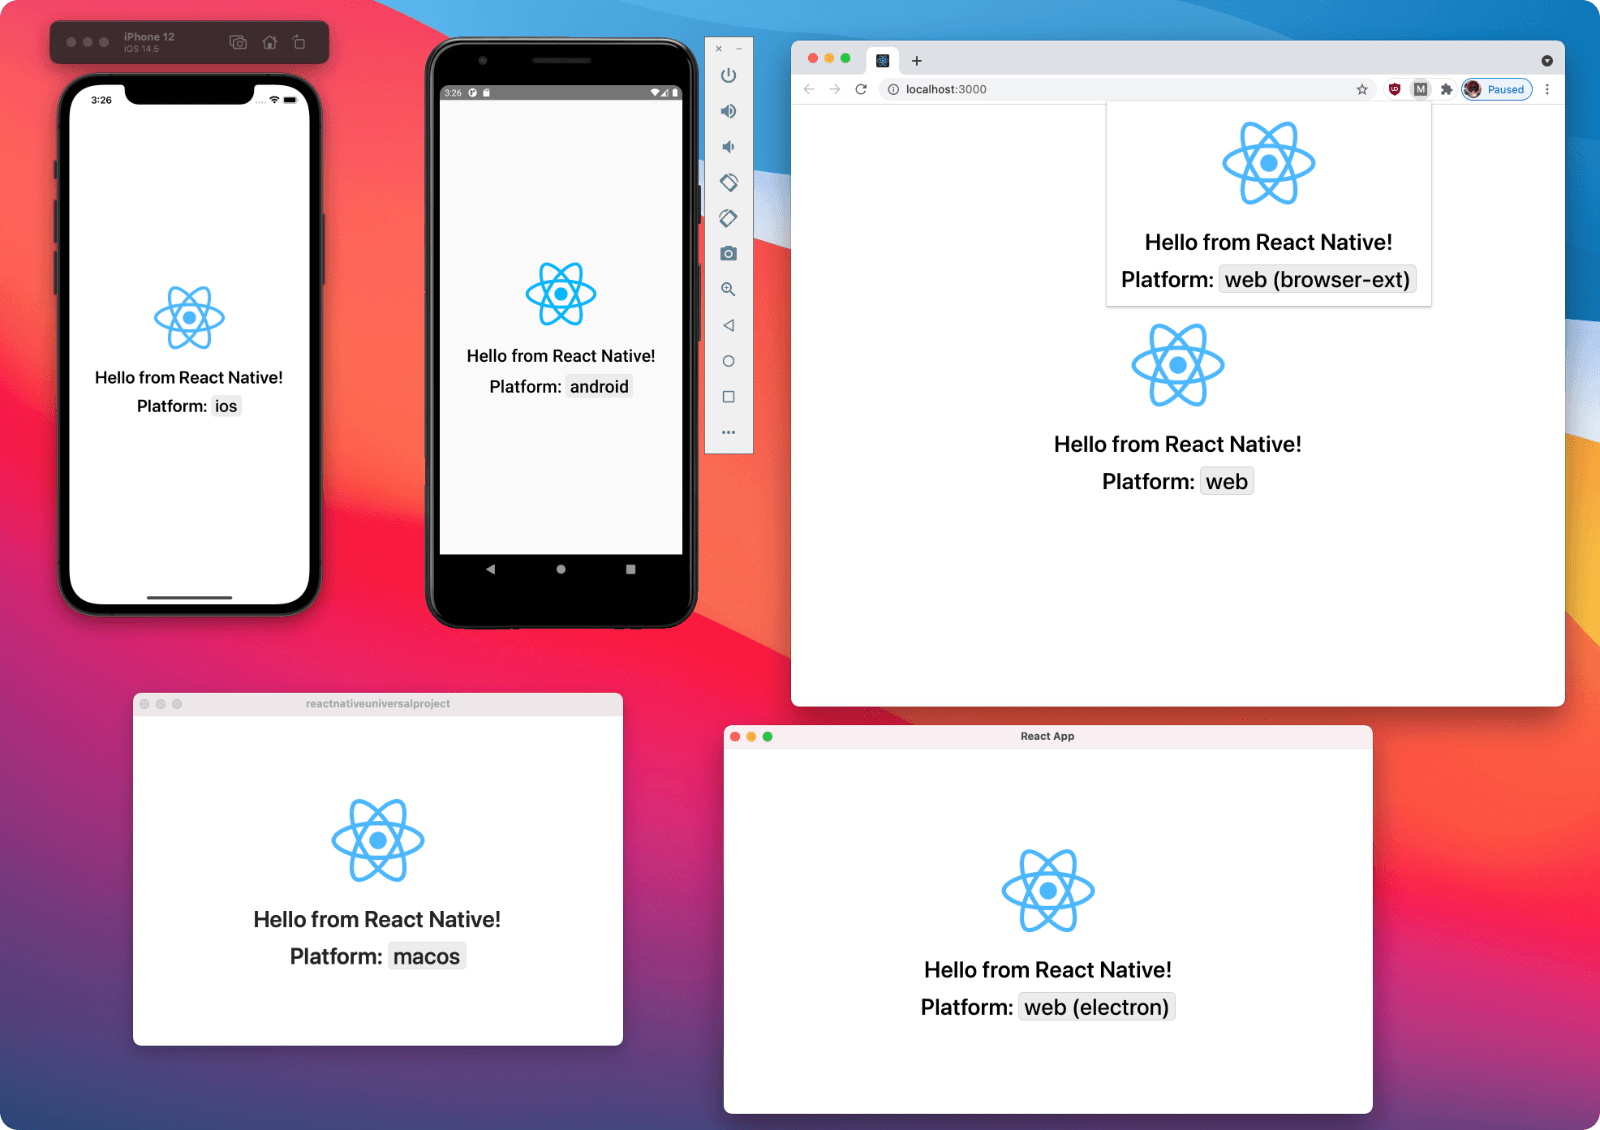
How to structure your project to run multiple React Native apps within a single codebase targeting different platforms: Android, iOS, macOS, Windows, the web, a browser extension, and Electron.
The complete project is available on GitHub: React Native Universal Monorepo.

Learn once, run everywhere
Since its inception, React Native's focus has always been enabling developers to write native applications using React. And by "native", they don't mean just "mobile" apps.
Yes, React Native is mainly known for its Android and iOS support, but its scope is steadily expanding: be it mobile devices, desktop apps, VR, or websites, React Native has an answer to almost every platform nowadays.
"React Native monorepo for every platform" is an in-depth guide about using React Native to run a single app on different platforms and frameworks: Android, iOS, macOS, Windows, the web, a browser extension, and Electron.
This guide leans towards showing the technical side of the platform's integration process, focusing on creating a setup that provides a good developer experience.
This is not a "how to create a React Native app" guide. We'll spend most of the time getting our hands dirty by tweaking React Native's metro bundler, customizing Webpack configurations, and learning how monorepos and Yarn workspaces work.
I won’t delve deeply into explaining how the technology stack works. A good understanding of React/React Native is required if you want to fully understand the process. Some basic knowledge of build tools like Webpack and the metro bundler will help too (but are not required).
Last but not least: I'm not looking for buy-in on using React Native on multiple platforms. I'll assume you've already done some research on the pros and cons of such an approach 👍.
Project goal
By the end of this guide, we’ll have a fully working multi-platform setup sharing a single React Native codebase.
You can find the complete code in the React Native Universal Monorepo GitHub project.
Even if I'm covering several platforms, you’re likely interested in just a couple of them.
That's ok, and that's why I'm splitting the guide into different blog posts — you can skip posts of platforms you don't care about.
Tech stack
The project we're building is structured as a Yarn workspaces monorepo.
For the sake of simplicity, code is written in plain JavaScript. Still, you can add support for TypeScript if needed (you can use the React Native Universal Monorepo as an example; it's written in TypeScript).
We're not going to use Expo. Not because I don't like it (quite the opposite: I love it!), but because currently it doesn't support all our target platforms.
We'll generate the iOS and Android app using React Native CLI, and the Windows and macOS apps app using React Native for Windows + macOS.
For the web app, the browser extension, and the Electron app, we'll use React Native for Web.
To simplify their setup, we'll use Create React App, and customize it using CRACO — but you're free to use other React-based frameworks as well (e.g., NextJS).
As of writing, the latest version of React Native is 0.65. This is the version of React Native we're going to use on most of the codebase (except for the macOS app that currently only supports React Native 0.63).
Even if we're going to mess around with the configuration of each project, updating to newer versions of React Native shouldn't be too complex. We'll keep all our configurations on the JavaScript side and, by design, we'll support and use different versions of React Native.
Acknowledgements
I created React Native Universal Monorepo and I'm writing these blog posts because I wanted to share what I learned while working on this setup on other personal projects.
For feedback and questions, feel free to start a discussion on the React Native Universal Monorepo's discussions page or send me a direct message.
Thanks to the React + React Native team and community for building all these fantastic tools! ♥
Next steps
Without further ado, let's start from the first step: setting up the monorepo.
- Overview (☜ you're here)
- Monorepo setup
- Android & iOS
- Windows & macOS
- The web
- Browser extensions & Electron